Importing and Validating
A guide to importing and validating your data.
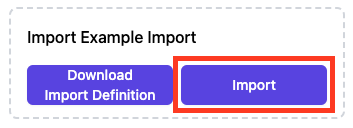
Once your Excel sheet is filled out, you can start the import process by clicking the Import button. A screen will appear, showing your import history and a button to select your Excel file.
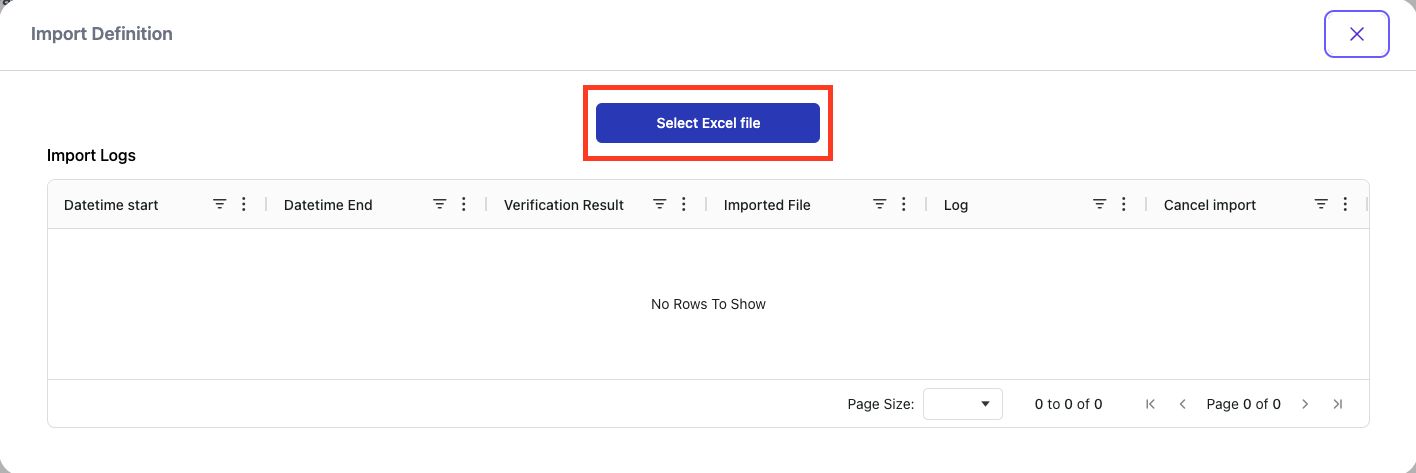
After this, you'll see your import history and a button to select your file. Click this button to upload your filled-out Excel file.
Now, let's try an import ourselves. After filling out the Excel file, we select it in Datastorms. A table will then appear with the objects that will be added after a successful import. You can use the blue checkbox on the left to select which objects to import.
Import Tools
The import screen provides several functions to help you manage your data before the final import.
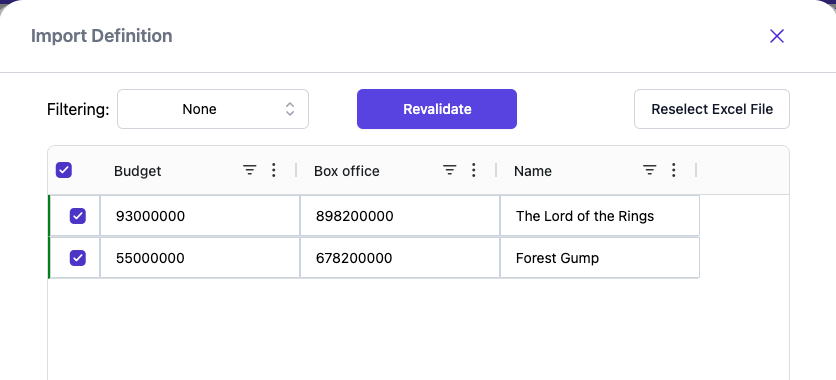
- Filtering: The Filtering option allows you to quickly find specific data within the table. This is useful for locating errors or empty cells that need to be filled.
- Editing and Revalidating Data: You can edit data directly within the validation table. If you spot a mistake, such as an incorrect value, double-click the cell to make the correction. After making changes, click the Revalidate button to re-check your data.
- Reselect Excel File: If you realize your initial Excel file needs major changes, the Reselect Excel File option allows you to upload a new version without having to start over.
Fixing Validation Errors
In a successful import, there are no warnings. But what if the validation fails due to errors in the selected Excel file?
Let's assume we made three common mistakes:
- An incorrect data type (e.g., entering text where a number is expected).
- A missing identifying property (e.g., leaving a required "Name" field empty).
- A duplicate identifying property (e.g., using a name that already exists for another schema).
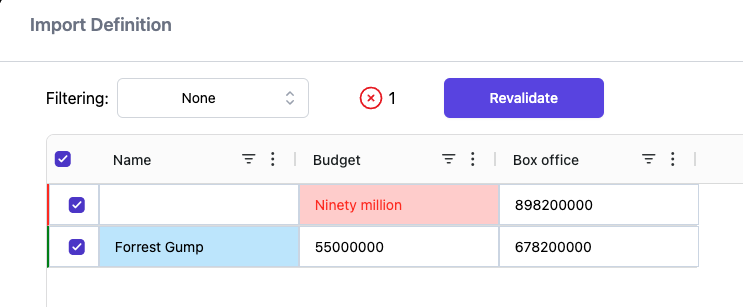
In Datastorms, you will receive warnings, each with its own color and severity:
- Red Warnings: These indicate critical errors, such as incorrect value types or missing required data. Red warnings must be fixed before you can successfully import your data.
- Blue Warnings: These typically indicate non-critical issues, such as duplicate identifying properties (where a schema with that name already exists). While these should generally be reviewed, the system might allow an import by ignoring the duplicate or updating the existing entry, depending on your schema configuration.
The values can be adjusted directly in the table by double-clicking on them. Only when all red warnings are resolved and you have addressed any other concerns will the import be successful.
Saving & Finalizing Your Import
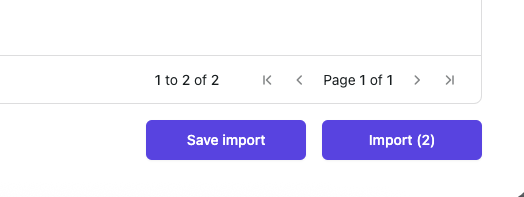
For large files that require extensive validation and error-checking, you can save your progress by clicking the Save Import button. This lets you come back and finish the process later without losing your work.
Once all warnings are resolved and you are ready to complete the import, click the main Import button. This will start the process of adding the data to Datastorms. After the import is finished, a progress bar will appear.
To see your new data, go to the relevant page and click the refresh button on the table.
The new data will not automatically appear everywhere. You must refresh the specific table to see the imported data.